

*This post contains affiliate links*
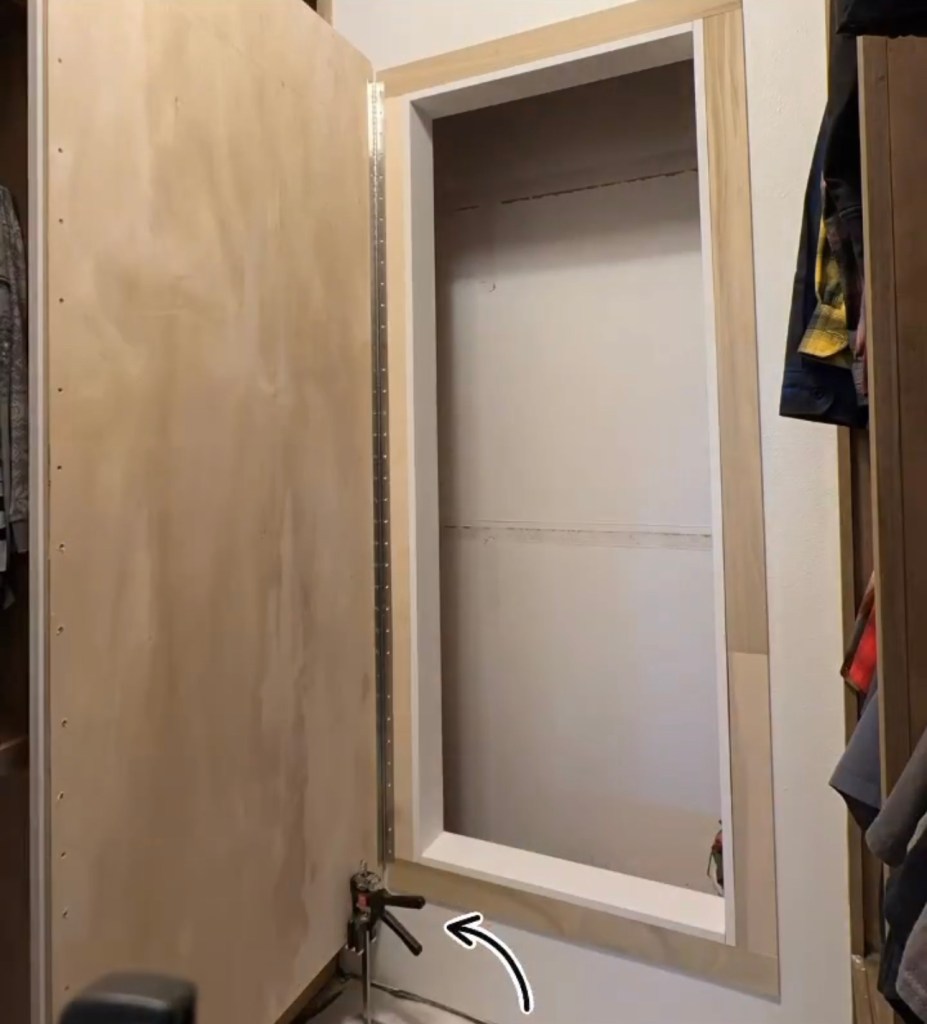
That big hole in the wall might seem random, but we had big plans for it! I had a mirror I was going to hang over it as a hidden door, but figuring out how to do that was pretty difficult because the mirror was so heavy!
I started by building a frame for this huge mirror my neighbor gave me a few years ago, I was originally going to frame it out and sell it but it ended up working great for this project. As you can see in the below photo, I used primed pine boards and routed the edges of them on the back so the mirror could sit inside the frame and I could add a backing on it.

I cut the corners at 45 degrees and connected them together with wood glue and 2 pocket holes at each corner. Tyler helped me a lot with this project, he was super excited about his hidden room!

We got it all put together, set the mirror inside the frame and then used a 1/2in thick sheet of plywood for the back that I cut down to size. We used construction adhesive to glue the plywood on and set heavy objects on it so it would dry flat. The hard part was finding hinges that could hold the weight of the door. I searched and searched, I even found one site that had heavy duty hinges but it said “call for quote” and I wasn’t looking to spend that kind of money! Then I spoke to a friend and he suggested a piano hinge! I got on Amazon and ordered a 72in heavy duty piano hinge and then installed it on to the side.

So many screws!

This hinge came with a lot of screws so I ended up screwing them all around the outside of the mirror since the plywood was only held on with glue, the screws would reinforce the glue. We planned to use longer screws for the wall side of the piano hinge that we bought seperately.

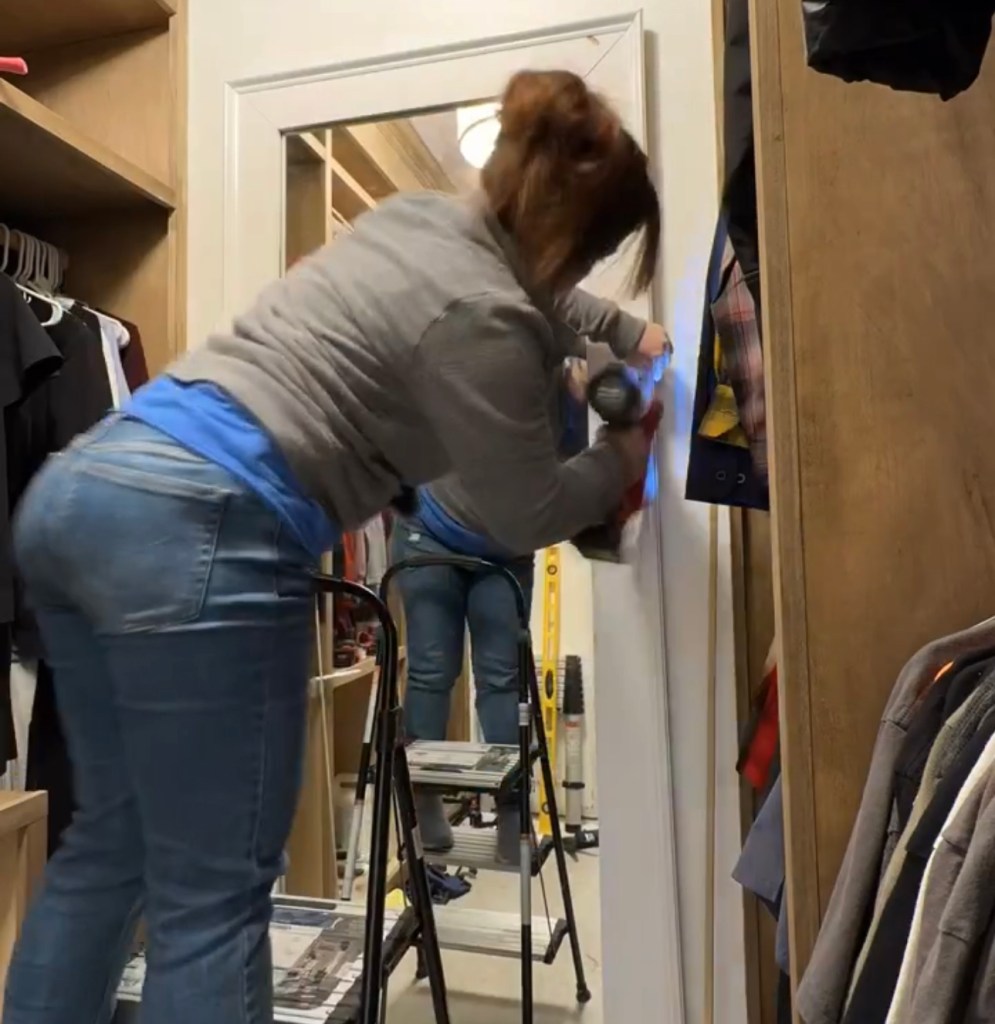
Then it was time to bring it inside!

We got it installed with the help of these Viking Arms! They are amazing and super strong! They held up the mirror with no issue while we screwed it into place.

Then the moment of truth! Would it close and be lined up? Would the hinge hold?


And it worked! It lined up perfectly! I was so nervous for this part. You can see how excited I was when it worked!

You can see here in the top corner I was trying to hurry when adding my pocket holes and accidentally put one in the wrong side! Oops! But I just filled it with wood filler and sanded it down and it’s fixed now.

You can see here that you can only see the hinge on the left side of the mirror if you get right up on it. You’d have to push your head all the way against the cabinets on my side of the closet to see the hinge at all.

Since this was going to be a storage room for guns and ammo we needed a lock. So we found this magnetic lock on amazon and it works perfect! You just slide the key fob on the front of the mirror where the lock is and it pops open. It was really easy and straight forward to install. You could also use this on a night stand drawer, a kitchen cabinet door, or wherever else you want to keep people out of.


This is what it looks like on the inside.


I planned on adding decorative trim to the inside of the mirror but when I added the first piece I noticed you can see the back of it so I took it off so I could paint it first before installing it. I’ll install it with wood glue or construction adhesive, no brad nails here this close to the glass.

I added basecap moulding to the outside of the mirror frame to give it a more traditional decorative look. I used construction adhesive and brad nails.

I wanted to give this mirror an antique look, I started by painting it black.

Then I went over the black with rub n buff and this zibra paint brush and rubbed it around in a circular motion, I wanted some of the black to show through. This is the same technique I used on the mirror in my dining room. I bought the variety pack of rub n buff and tried out a few colors before figuring out which one I wanted to go with.

But then I hated the gold in this space so I mixed Accessible Beige by SW and joint compound to give it a flat stone like look, like we did on Michelle’s fireplace. But it was a little lighter than what I wanted so the next coat I added some Amazing Gray by SW to the mixture to darken it up a bit. I haven’t used Amazing Gray in my house before but I had a sample of it from when I was choosing a color for my dining room.

I think I made the right call! I love this color a lot more than the darker gold look!

As far as the inside of this space, I painted the wood frame Alabaster by SW, the same color as the walls.

Tactical Walls sent us a tactical wall unit to hold guns and ammo. It’s like a wall tool holder but for guns. Pretty awesome! It’s strong and heavy duty.

It screws into the studs, the holes in it are 16in apart, which is how far apart studs are supposed to be. We hung it up on the back wall of the hidden room.

Here’s a quick video on the process.
We now have 3 full panels in the space, plus shelving on the left side and space for longer items on the right side. I won’t be showing the hidden space now that it’s stocked. But here is their web site and what it looks like stocked. Also, if you are looking for a hidden gun storage area but don’t want to build a whole space like we did, they also make these wall mirrors that go in between the studs of a wall and doesn’t look like a storage mirror. They also make tactical shelves and things like that.
What do you think? Do you like the idea of a hidden room? Do you like the new color of the mirror or do you prefer the gold?
Next up, the flooring for the closet.
Leave a Reply