

*This post contains affiliate links*
Tyler built our friends, Jen and Kevin, a barn door several years ago, but the wood warped after he hung it up and we joked for years that he hung up a banana as a barn door!

You see below how the bottom swings out from the wall?

It was a running joke for a few years but we were finally able to fix it! This time I used MDF because I knew it wouldn’t warp. I started out with a 3/4 sheet of MDF and added about 3 inches on to the side of it with pocket holes because this door was huge!

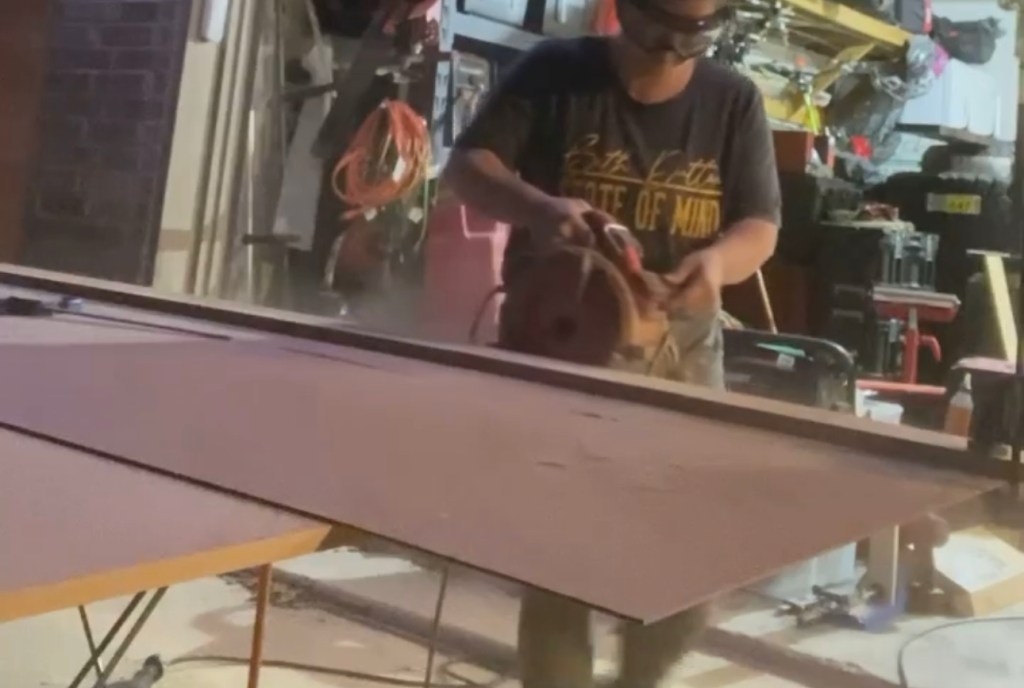
I planned on using brown board for the decorative middle area. I cut it down into 6in strips with my circular saw and a guide.

I sanded down the edges by hand because they were a little rough as you can see below.

But with just a little sanding they were smooth as can be! I just used a 220 grit sanding disc.

Then I clamped all the brown board pieces together so I could paint the sides fast and easy so I wouldn’t have to worry about painting them later when they were all installed. It’s easier this way.

I also painted the MDF for the same reason.

I trimmed out the edges with skinnier brown board strips so that way the edges of the barn door would look solid since I’d be attached an MDF boarder on top of the brown board shiplap. I attached these with wood glue and sat heavy objects on them till they dried.

I marked center and I marked a boarder along the edges so I knew how far to measure for the brown board strips. These pieces didn’t have to be perfect at the ends since the ends would be covered up by the top MDF.

I marked my first line where the first brown board piece would need to go so it would be straight, then the rest of the pieces would align with that one.

Then I started laying strips of brown board. Again, attaching them with wood glue and setting heavy objects on top till they dried. These didn’t need to be secured with nails since I’d be attaching the MDF on top with nails and that would help hold it all into place. Also, it was less nail holes to fill and sand.

Literally used anything I could find in the garage that had some weight to it! You see how the brown board doesn’t go all the way to the brown board on the edges or the center? This will make more sense later when I add the MDF on top.

Once that sat for a little while I cut the MDF strips to size and attached them with wood glue and brad nails.


Once those were all put into place it was time to fill the nail holes and seams where the MDF met and the edges. I used spackle for this, but if I did it again I’d like to try Bondo.

Once everything was filled and dried I sanded it all down with my orbital sander and 220 grit sandpaper.

I wiped it all down with a tack cloth and then painted it.

It’s crazy what a difference some paint can make!

Unfortunately, I don’t have any great after pictures of this door, just some stills taken from a video. But you get the gist. I mainly wanted to share this project with you because it was pretty easy and turned out great and I think you could tackle it too!

This is the barn door hardware we used, we have the same one at our house too and love it! You see how the bottom is plumb up and down, no more banana warping.

Best part is Jen LOVES her new barn door!

Next up, our master closet remodel!
Leave a Reply